Getting Started with the Clinic Portal
Learn how to log in, navigate the dashboard, and find your way around the Avalon Health clinic interface.
Before You Begin
You need an active Avalon Health clinic account to follow this guide. If you do not have credentials yet, contact your facility administrator to have an account created for you.
What You'll Learn
By the end of this guide, you will know how to:
- Log in to the clinic portal securely
- Understand the dashboard layout and key metrics
- Navigate between sections using the sidebar menu
- Manage your password and security settings
Logging In
Open the Clinic Portal
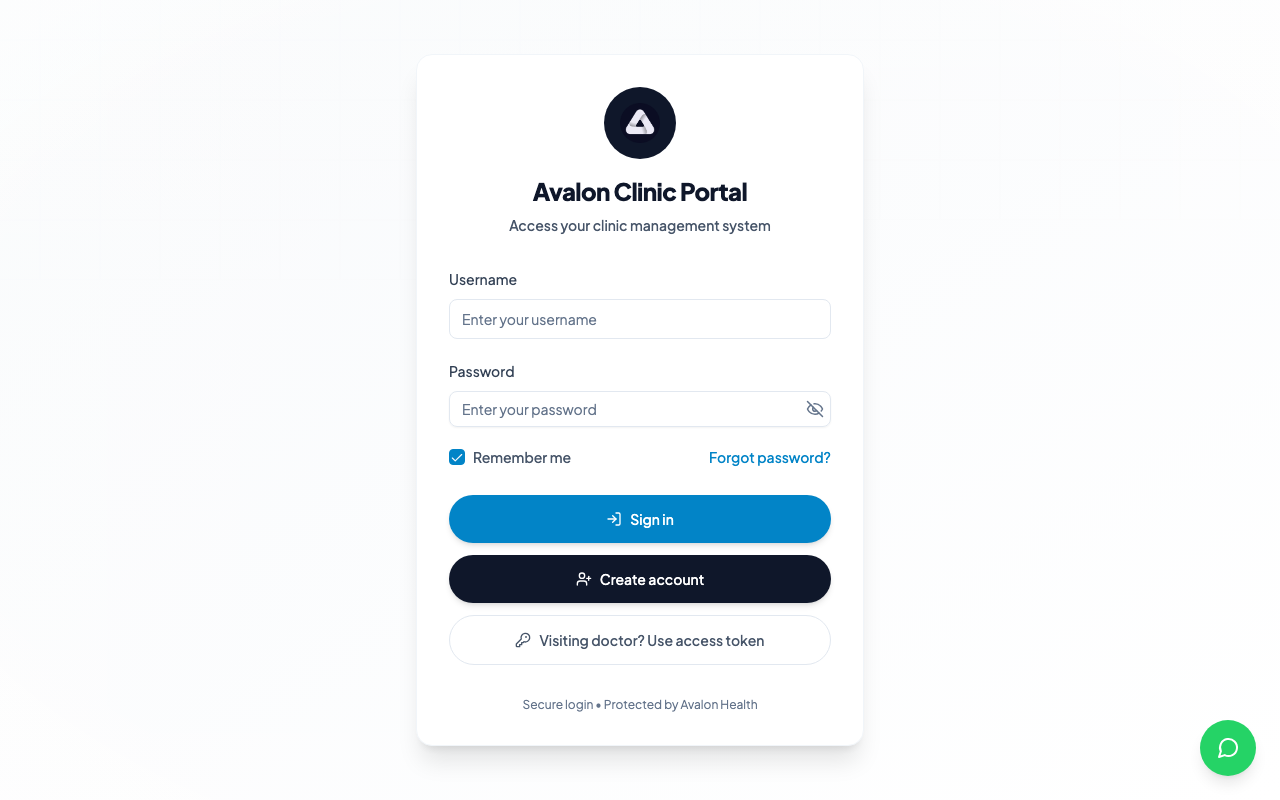
Open your web browser and navigate to the Avalon Health clinic portal URL provided by your administrator. This is typically in the formatclinic.avalonhealth.cloudor a custom domain configured for your facility.
The login page will display the Avalon Health logo and a sign-in form. Make sure you are using a modern browser such as Chrome, Firefox, Safari, or Edge for the best experience.
Dashboard Overview
The clinic dashboard gives you a bird's-eye view of your facility's daily operations. Here is what each section of the dashboard shows:
1Sidebar Navigation — Access all major sections: Patients, Appointments, Queue, Prescriptions, Billing, Claims, Referrals, Reports, and Settings.
2Top Bar — Shows the current date, search bar, notification bell, and your profile avatar with a dropdown for settings and logout.
3Quick Actions — Buttons for common tasks like adding a new patient, creating an appointment, or starting a new prescription.
4Today's Schedule — A summary of upcoming appointments for the day, colour-coded by status (confirmed, pending, completed).
5Activity Feed — Recent activity at your facility, including new patient registrations, completed appointments, and billing updates.
Navigating the Interface
The sidebar on the left is your primary navigation tool. It organises the clinic portal into logical sections:
Patients
Search, view, and manage patient records
Appointments
Schedule and manage patient appointments
Prescriptions
Write and manage prescriptions with drug interaction checks
Billing
Create invoices, track payments, and manage encounter billing
Keyboard Shortcut
Press Ctrl + K (or Cmd + K on Mac) to open the global search. This lets you quickly find patients, appointments, and settings without navigating through menus.
First-Time Setup
When you first log in, there are a few things worth setting up right away:
- Change your password — Go to Settings > Security and update the temporary password provided by your administrator.
- Set your notification preferences — Choose whether you want to receive email or in-app notifications for new appointments, prescription requests, and billing alerts.
- Verify your profile details — Ensure your name, specialization, and contact details are correct. These details appear on prescriptions, referral letters, and patient-facing documents.
- Review your assigned rooms — If your facility uses the Queue system, confirm that you are assigned to the correct consultation rooms.
Session Timeout
For security, the clinic portal logs you out after a period of inactivity. You are shown a warning with a countdown before the logout happens, so you can stay signed in by interacting with the page. Even so, save your work frequently, especially when entering long clinical notes.